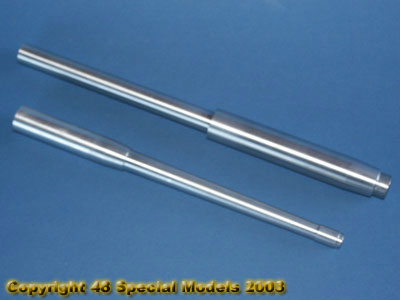
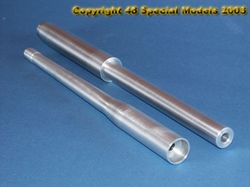
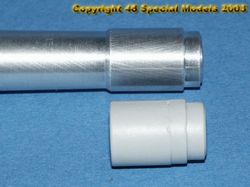
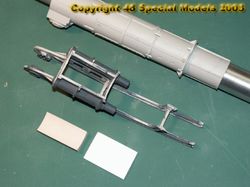
| Assembly
of the machined barrel
The
machined barrel is constructed that way it fits to the exsisting kit
parts,
instead of the plastic barrel. But it has a weight of estimated 400
gramms
and is therefore much more heavy. This must be compensated by several
precautions.
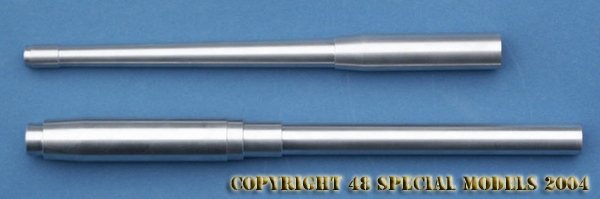
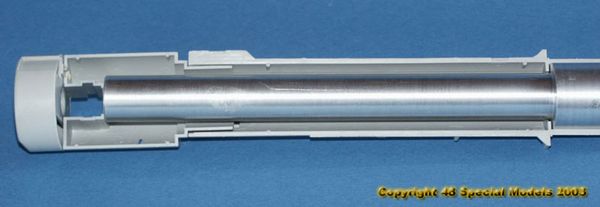
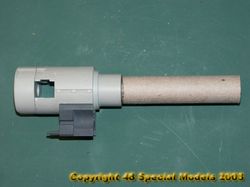
The
barrel consists of two parts, which need to be glued with superglue
(Cyanoacrylat)
or screw safety glue (Anaerobic glue). This should be done after the
barrel
is placed into the cradle, to make handleing easier.
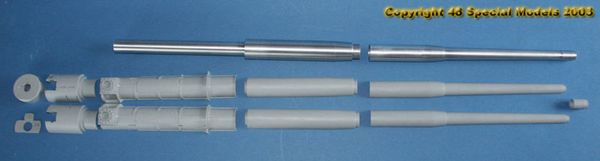
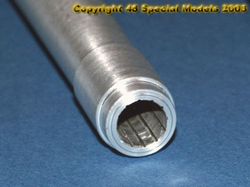
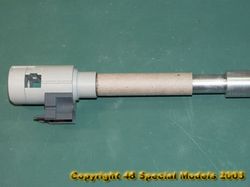
The
barrel is placed in the cradle of the K5 and glued or screwed to it,
instead
of the plastic parts. The barrel end rests in the lock tight. So the
aluminum
barrel has a weight of about 400g the lock needs additional weight
inside.
Ideal are lead shot pellets (available in gun-/fishing shops).
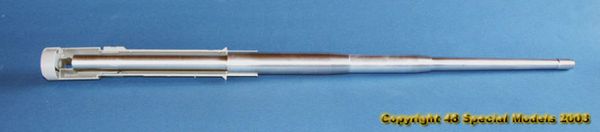
Before
putting the barrel in place the ballast needs to be sealed in the lock
with resin or superglue. This should be done in several steps, to
prevent
heating up and let the glue set. As to be seen below I added a
cardboard
tube, which has the fitting diameter. So the lock was sealed to the
front
(by glueing on a strip of stiff paper). Are you lacking a fitting tube,
so make one by wrapping cardboard around the barrel end and glue it
with
whiteglue. After it set strip it off and ready.
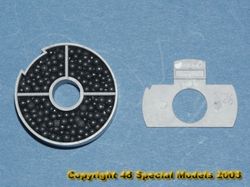
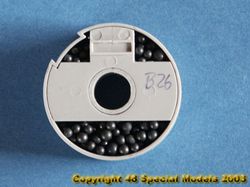
Through
the gap in the bottom of the lock, which takes part B26 later on, the
pellets
and glue/ resin can be poured in. Do it alternating to make sure all
pellets
stick together and don't rattle later. This way the weight of the lock
can be lifted 200g. This will not be enough to balance the barrel, but
it helps to lower the needed forces. The whole barrel now has a weight
of almost 680g.
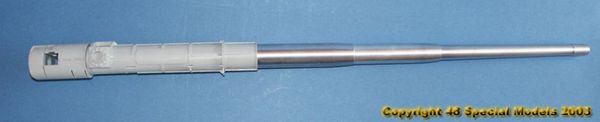
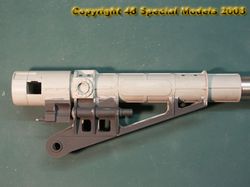
So
the lower cradle support structure is only glued on with less strength,
it needs some support to prevent it from breaking. The supportbox which
will be glued to the cradle later on, should be assembled beforehand.
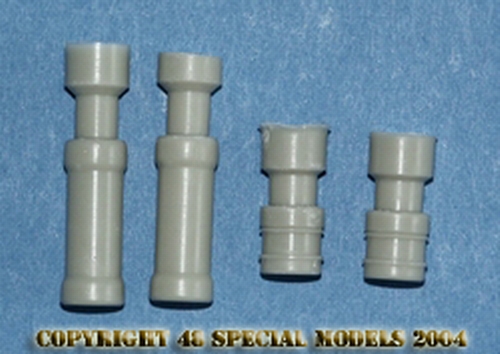
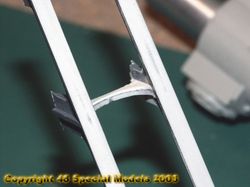
So
the connecting surfaces are small, it is necessary to give them more
strength
by glueing on 0,3mm thick plastic sheets to the front couplers at the
inside.
Also the lower backside one needs to get a 0,5mm thick sheet all over
its
inside surface too. This increases the strength a lot.
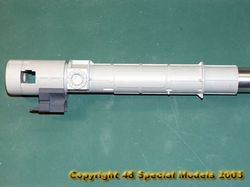
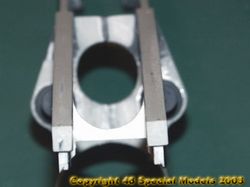
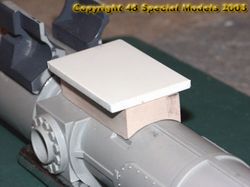
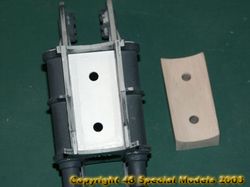
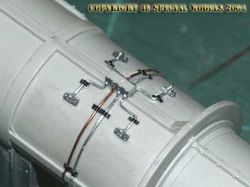
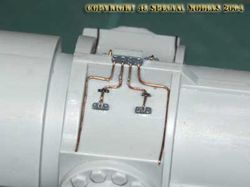
Into
the boxlike space underneath the barrel fulcrum, right between the fake
hydraulic cylinders, a plate can be placed. It locks into the gap on
the
left and the right side of this box and gives the possibility to screw
it onto the barrel.
I
made a plate of 30x42mm from 3mm styrene, which can be placed into this
boxlike space. Below it a block of Ureol (a modelmaking material from
resin)
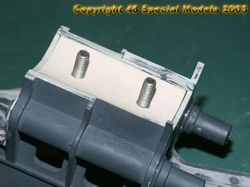
or wood was fitted in. Both parts where held in place temporaryly by
doublesided
tape and drilled through with two centred 4mm holes. The parts where
positioned
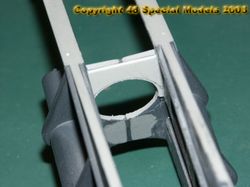
and glued in place afterwards. The lower cradle support structure was
then
glued to the cradle. Next the lock and barrel where put in place dry,
adjusted
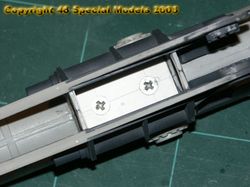
and the centerholes for two M4 screw where drilled through. After the
thread
was cut all parts can be screwed together easy. A glueing of the lock
and
cradle isn't realy necessary at all anymore, but can be done. Now the
forces
can be transfered to the support structure without problems. A break
away
is almost impossible.
Now
leading the forces becomes more delicate, because the hydralic lifting
cylinder is fake and nonfunctional. To build the barrel movable needs
careful
preparation. Will it be build in the lowered position this is not
necessary.
To
prevent a constant load on the moving parts, it is necessary to block
them
or scratch build additional parts. More information can be found at The
Carriage.
Only
so much on that. It is possible to do!
Also
to the carriage ballast should be added. Therfore at the far ends,
before
they are closed, lead pellets should be filled in.
Before
final assembly the stability and movability of the barrel should be
checked,
because they can't be changed afterwards anymore.
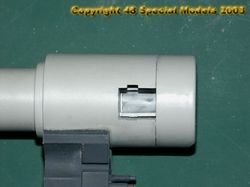
The
lock block lacks a little in dimensions and fit. Inbetween the barrel
end
and the block is a gap of minimum 0,5mm. In original this means
desaster!
Also the lower guide slot is visible in the lock it is missing on the
block
and needs to be added. I changed this by glueing on to strips of
polystyrene
and sanded them to fit. I didn't mind if the dimensions are true to the
original in this case at all, but now it works perfect.
|